If you pre-ordered *Kingdom Come: Deliverance 2*, you're in for a treat with the exclusive bonus quest, The Lion’s Crest. This quest not only adds to the rich storytelling of the game but also rewards you with some fantastic in-game bonuses. Here's a comprehensive guide on how to start and successfully complete The Lion’s Crest.
Table of contents
- How to Start The Lion’s Crest in Kingdom Come Deliverance 2
- The Lion’s Crest Riddle Solution
- Map 1
- Map 2
- Map 3
- Map 4
How to Start The Lion’s Crest in Kingdom Come Deliverance 2
Once you've completed the tutorial section in *Kingdom Come: Deliverance 2* and have the freedom to explore the open world, head to Troskowitz. There, you'll meet the scribe Gaibl, who will set you on the path of The Lion’s Crest by providing you with a riddle and the smithing recipe for Brunswick’s polearm. You'll need to collect the materials on your own, but the blacksmith’s forge is where you can craft this powerful weapon.
The Lion’s Crest Riddle Solution
The riddle you receive is key to unraveling the mystery of The Lion’s Crest. It goes like this:
*“Take your leave of crone and maiden, standing tall behind the gates, boldly go towards true midnight, in caverns cold your prize awaits. Pass through the hall of forest kings, hidden deep from hunters’ gaze, standing tall two guards of stone, behind who yearned for treasure lays. Between then stands a mighty rock, a subtle niche yet deeper still, a place to give one’s heart to God, behold my armour gleaming still.”*
To solve this riddle, start by leaving Trosky Castle through the northern gates, where you'll find the Crone Tower and Maiden Tower. Continue north into the forest.
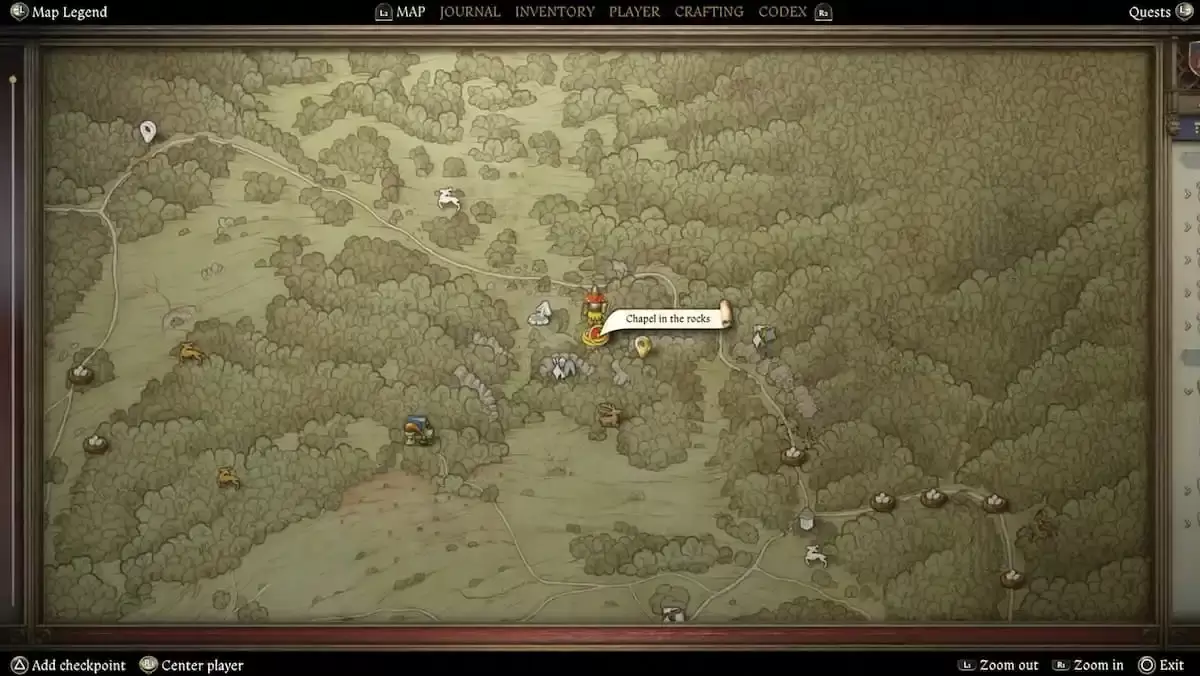
Keep to the left side of the path and you'll soon notice some rocky formations with walkable crevices. Navigate through these and you'll discover a cave containing a chapel. Next to the chapel, on a rock, you'll find a cross. Examine it to uncover the first piece of Brunswick’s Armour and two treasure maps that will guide you further in your quest.
Map 1
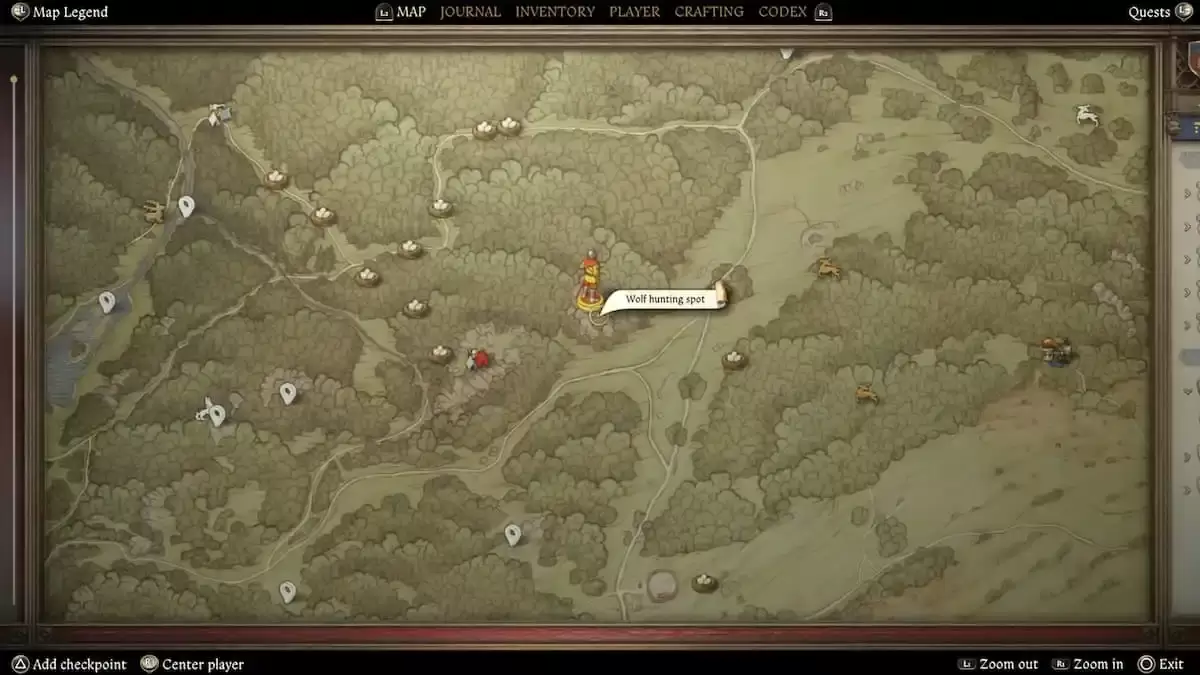
Following the first treasure map, continue west along the road that led you to the chapel until you reach a crossroads. Head north into the woods to locate a wolf den. Look above the den, amidst the trees, to find a bag containing the second piece of Brunswick’s armour.
Map 2
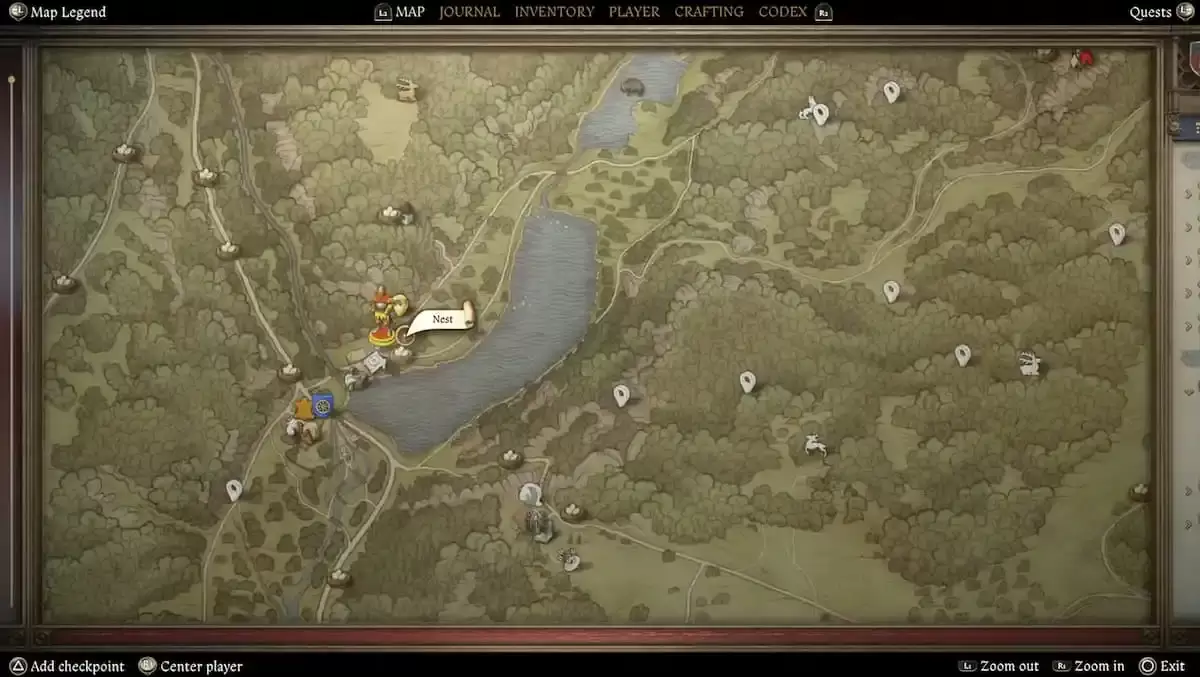
The second map directs you to Vidlak Pond. Follow the path behind the fisherman’s house and keep an eye out for a large rock formation along the cliffs. Ascend to the rocks to find a chest beside a cross, containing more of Brunswick’s armour.
Map 3
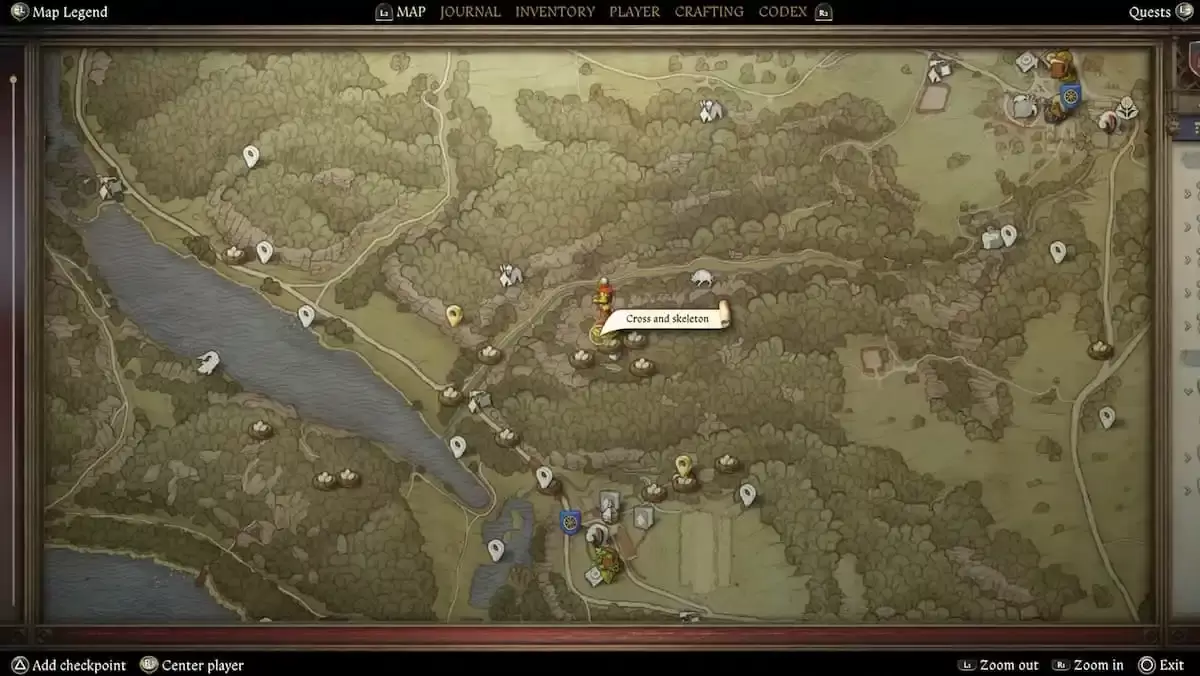
For the third map, fast travel to Zhelejov and visit the tavern before leaving the settlement. Cross the two bridges towards Tachov, but after the second bridge, take a small path towards the river and into the forest. Follow this path to a hill where you'll find a large tree. Examine the bones and the bag at the top of the hill to secure another piece of the armour.
Map 4
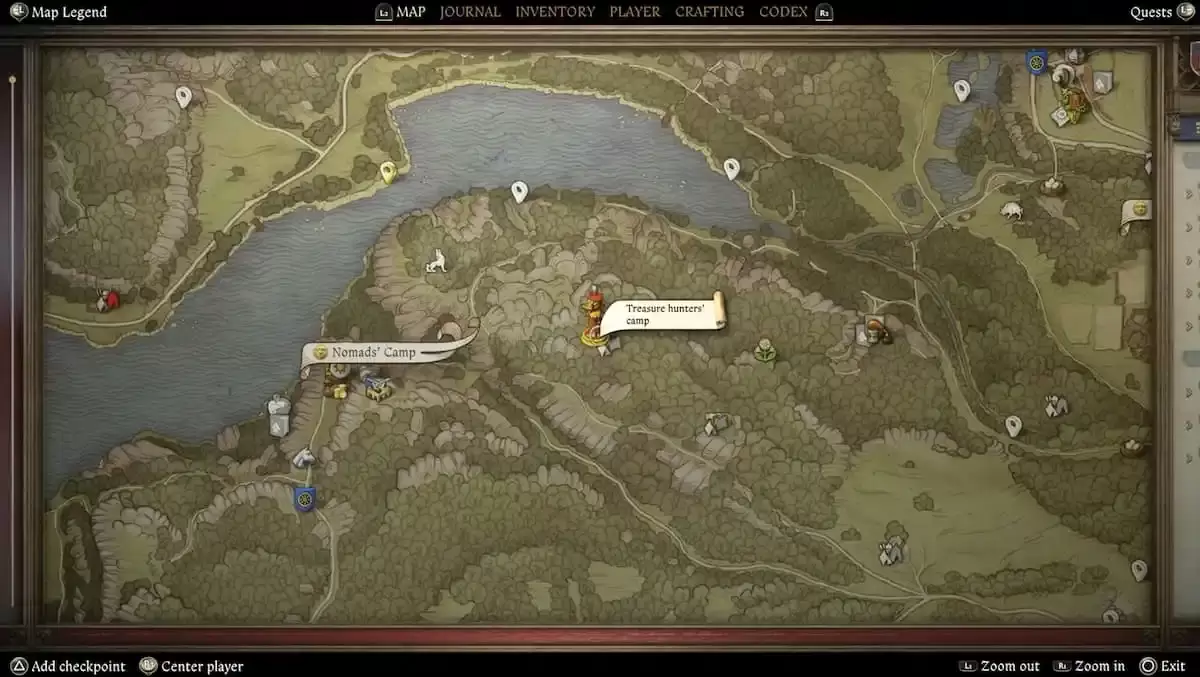
The final map leads you to a hill between the Nomads’ Camp and Bozhena’s Hut. Search for rocks on the hill with a cross on top, and you'll be rewarded with the last piece of Brunswick’s armour.
Completing The Lion’s Crest in *Kingdom Come: Deliverance 2* not only enhances your gameplay with Brunswick’s powerful polearm but also enriches your journey through the beautifully crafted world of the game. For more insights and tips on *Kingdom Come: Deliverance 2*, including romance options and the best perks to prioritize, be sure to visit The Escapist.